How to Create Textures for 3D Models in Blender
In various fields like game design, film production, and architectural visualization, 3D model textures are essential. Designers using 3D software such as Blender, Maya, or 3ds Max must master how to efficiently create, apply, and optimize textures to ensure the visual quality of their projects. This article will focus on the steps and key points of creating textures for 3D models in Blender, offering insights to improve your texture creation workflow.

1. Basics of Texture Creation
In Blender, textures are fundamental for giving 3D models their surface details. Textures help simulate materials like metal, wood, and stone, adding realistic physical properties to the models. The first step in texture creation is selecting the right type of texture map, such as diffuse maps (for defining color), normal maps (for surface detail), and reflection maps (for controlling reflectivity).
Each project may have different texture requirements. For instance, game design often demands lightweight textures to enhance rendering performance, while architectural visualization may require high-resolution textures to highlight details. Designers need to select appropriate resolution and texture types based on the project’s needs.
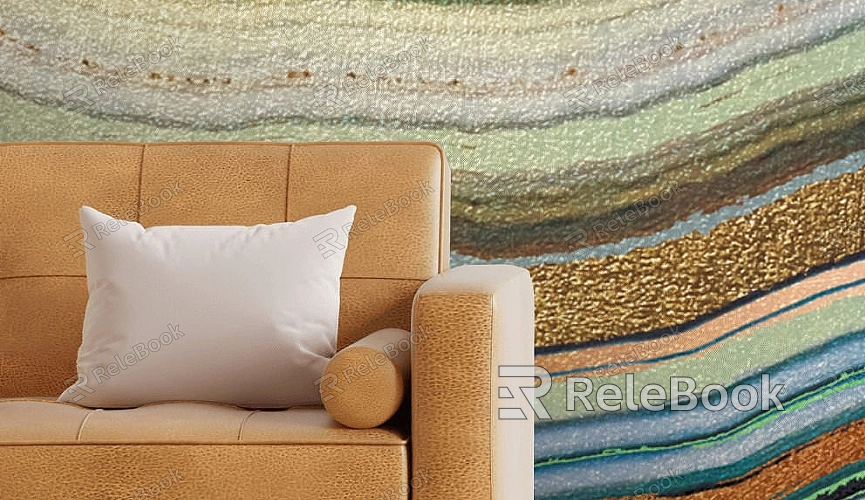
If finding high-quality 3D textures seems too complicated or time-consuming, or you’re unsure how to create them, you can visit Relebook and download beautiful 3D texture resources from https://textures.relebook.com/.
2. UV Unwrapping and Layout
UV unwrapping is one of the foundational steps in texture creation, determining how textures wrap around the 3D model. UVs represent a 2D layout of a 3D model’s surface, allowing designers to paint or apply textures accurately. Blender provides robust UV unwrapping tools, supporting both automatic and manual adjustments.
Avoiding UV overlap and minimizing stretching and distortion is crucial during this process. A well-planned UV layout reduces texture imperfections, which is especially important when working with complex models. Once unwrapped, the UV layout can be exported in formats like PNG or JPEG for further texture painting.
3. Creating Textures with Painting Tools
After UV unwrapping, designers can use tools like Substance Painter or Photoshop to directly paint textures on the UV map. These tools enable designers to manually add intricate details like scratches, stains, and metallic reflections to the model.
While painting, designers often utilize layers and brush tools to achieve fine control. A well-crafted texture usually incorporates multiple channels, such as diffuse, normal, and specular, to ensure the model displays complex material properties under various lighting conditions. For example, the diffuse channel manages the base color and material appearance, while the normal channel simulates surface details.
4. Adjusting Materials and Shaders
In Blender, materials control how light interacts with the model's surface. Choosing the right materials and shaders is vital for achieving the desired visual outcome. Blender's material node system allows designers to tweak parameters like transparency, reflectivity, and roughness to craft the perfect look.
For instance, Physically-Based Rendering (PBR) materials offer realistic light and material interactions, especially for materials like metal and glass. PBR materials give designers control over reflectivity and can adapt to different lighting conditions, creating more lifelike results.

5. Optimizing Textures for Performance
Once texture creation is complete, optimizing textures is essential to ensure good performance, especially in real-time rendering environments like game engines. Designers can reduce texture resolution or use compressed formats to minimize file size, reducing load times and improving rendering speed.
Balancing visual quality and performance is critical during optimization. Over-compressing or lowering the resolution can result in texture distortion, so designers must test different resolutions and formats to ensure both detail retention and enhanced performance.
6. Real-Time Preview and Adjustments
Blender offers a powerful real-time preview feature that helps designers view textures as they create them. Designers can simulate lighting conditions and shader effects in the viewport, allowing for immediate adjustments and ensuring that textures and materials match the overall model style.
Real-time previews also support different rendering engines, enabling designers to see how textures will appear in engines like Cycles or Eevee. This helps fine-tune texture parameters, avoiding undesirable results during final rendering.
7. Rendering and Output
After completing texture creation and optimization, the final step is rendering the model. Blender’s rendering engines, such as Cycles and Eevee, showcase how textures interact with lighting, using techniques like global illumination and ambient occlusion to enhance realism. Designers can adjust lighting and camera settings to ensure that the model looks great from different angles.
In practical projects, textures often require multiple adjustments, with repeated testing and rendering to guarantee that the model performs well under different lighting conditions and perspectives.
By following these steps, designers can efficiently create textures for 3D models in Blender. From UV unwrapping and texture painting to material adjustments and optimization, each stage plays a crucial role in achieving high-quality results. For more premium 3D texture assets, visit Relebook. On the Relebook platform, you’ll find a wide range of high-quality 3D models and texture resources that will help you achieve outstanding visual effects in your projects.

